

When we’ve traveled in Spain (and France and Italy for that matter) I’ve always been awestruck by the different kinds of cured meats I see in the markets. There’s no grinding and stuffing, in fact the process for curing whole muscles is relatively simple and they are very easy ‘starter’ projects for the budding home charcuterist. Basically you salt the meat, cure it for a period of time, rinse off the cure and then hang to age and dry in your meat curing refrigerator. Hang on you say, a WHAT…? Yeah that’s right, we’re kicking things up a notch going into 2014.
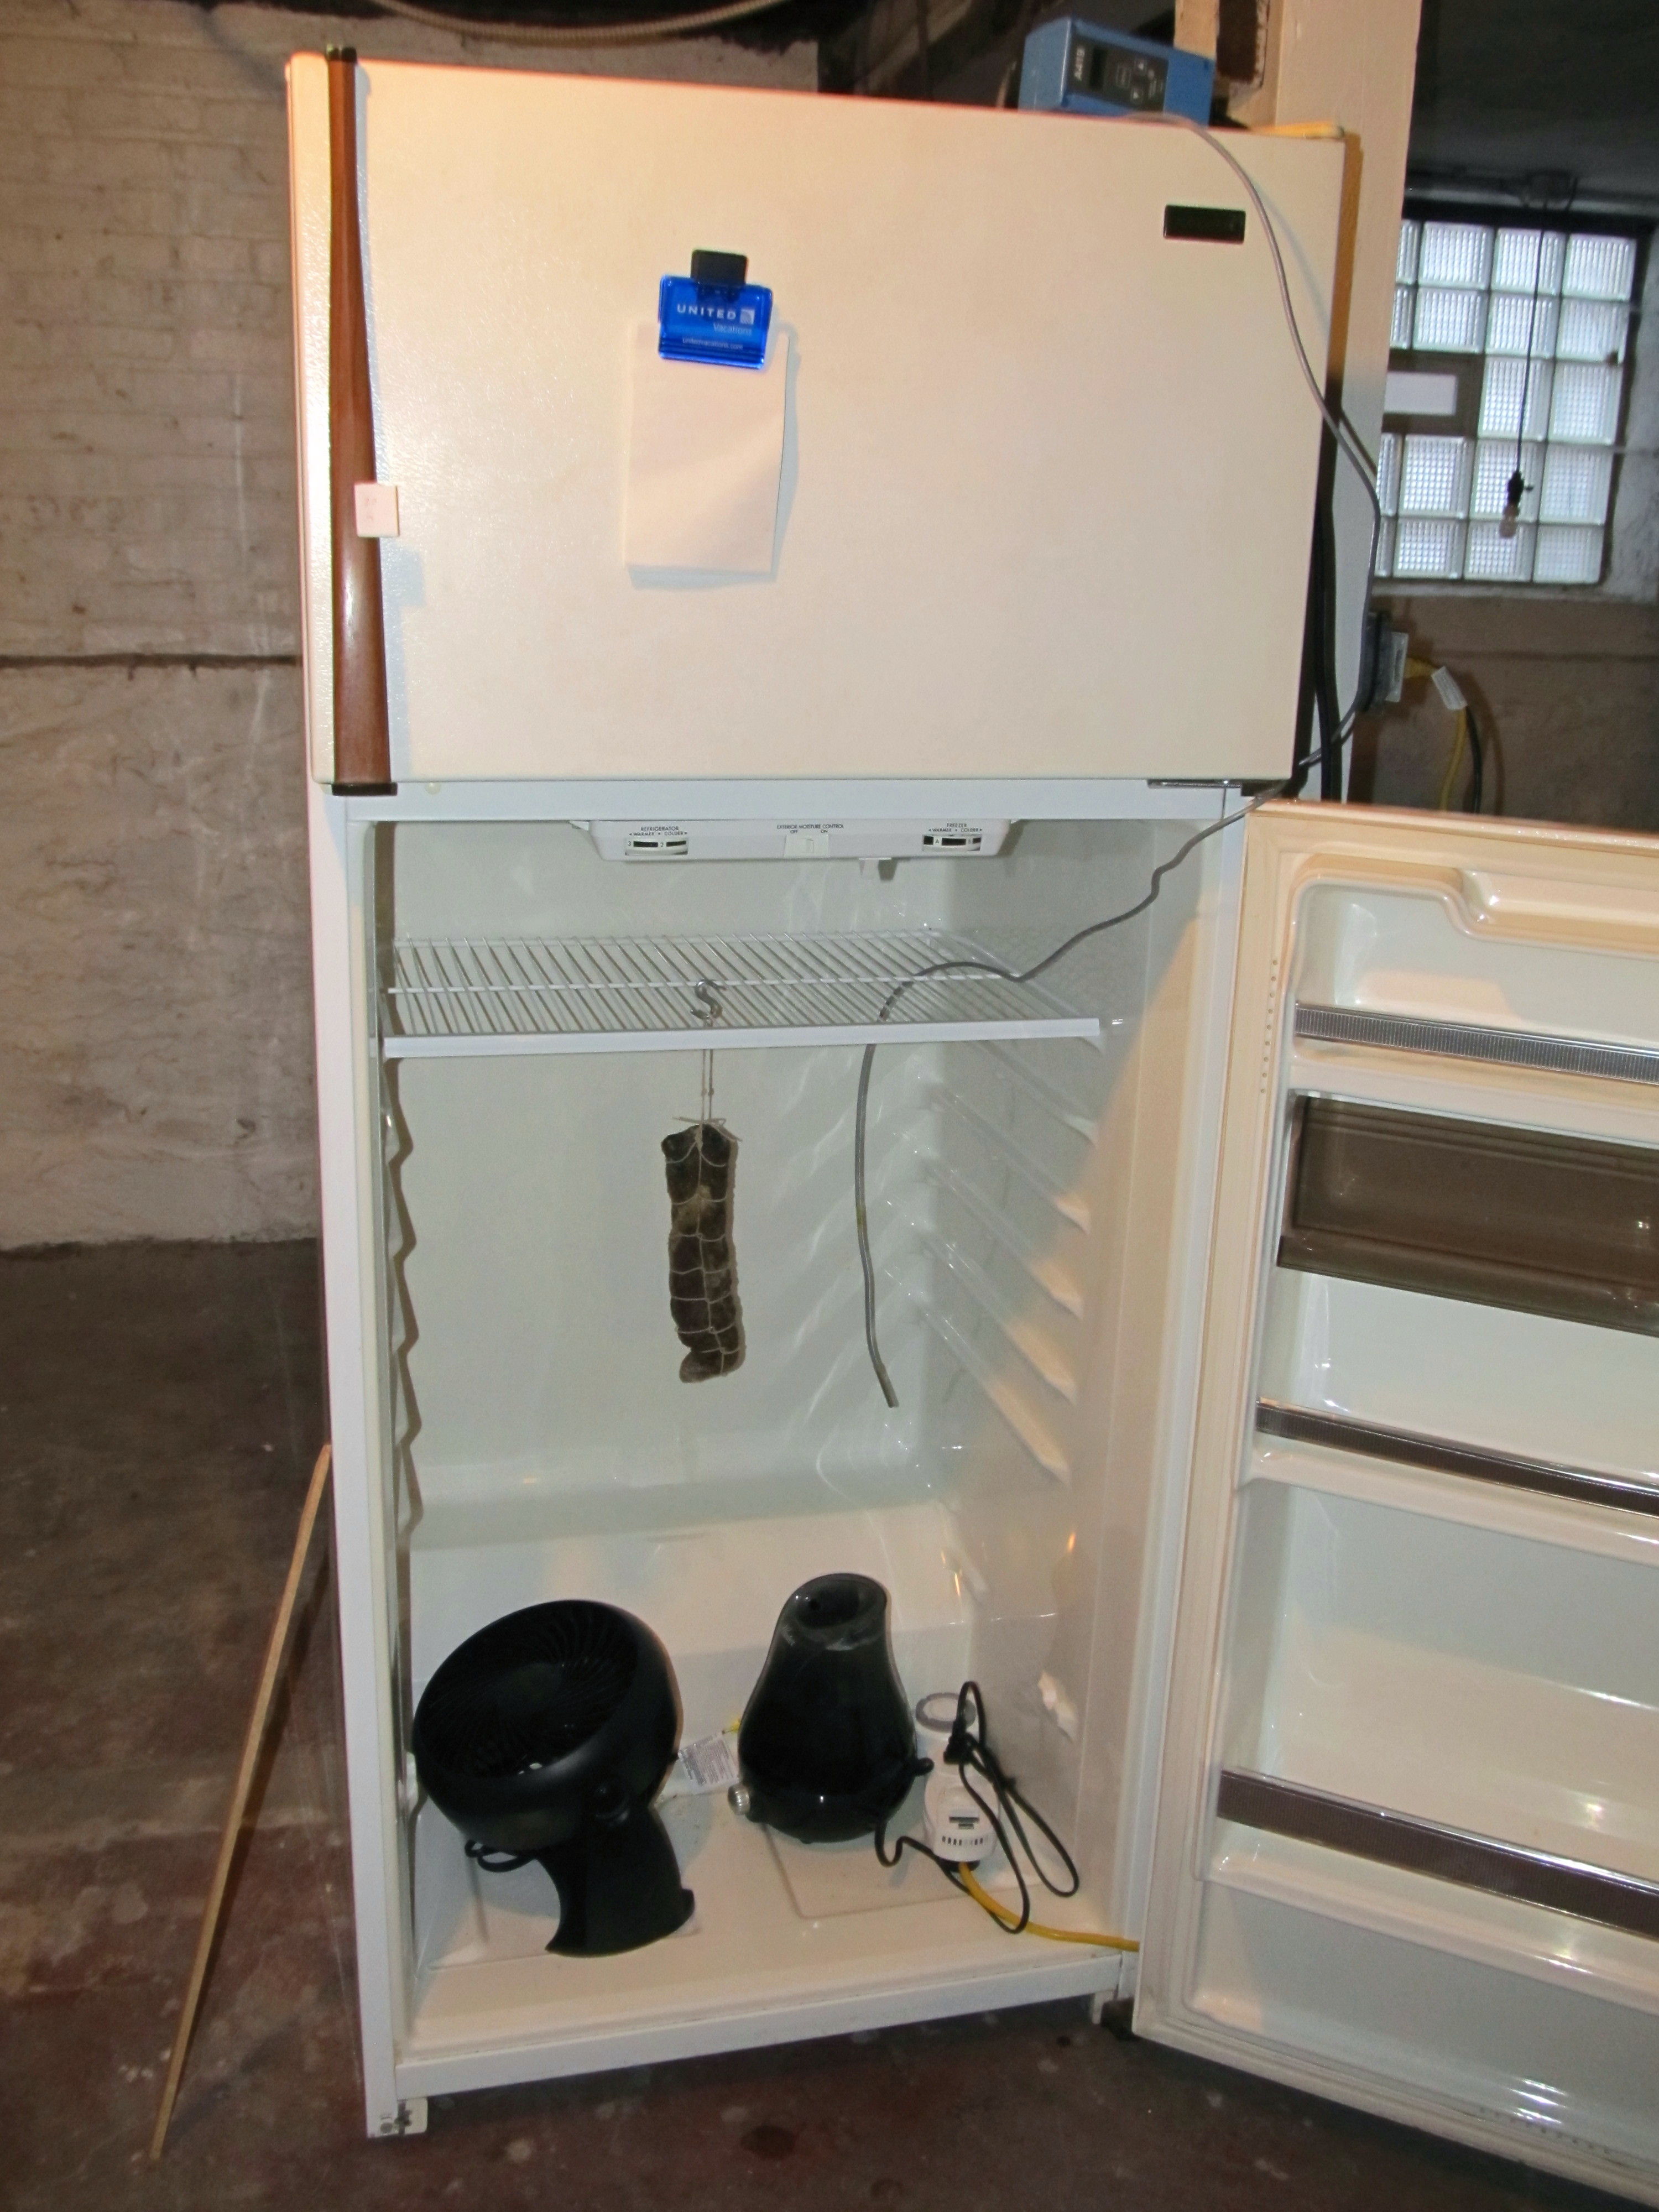
I did some research on the internet and found it was possible to turn an old working fridge into a curing chamber, I’m not going to go into details because this guy explains how to make one much better than I could as well as the reasons why you want a controlled environment. I basically followed his instructions and ended up with this:
Anyway, after successfully turning pork cheeks into mini-gunaciale I ‘tweeted’ a question to Michael Ruhlman asking if the guanciale cure could be used to make lomo (Spanish cured pork loin). He replied yes, and also recommended (i.e. plugged) the technique for lonza (Italian lomo) in his book Salumi, as if I don’t already have enough of his books. The book was immediately purchased.
Curing chamber ‘built,’ I was ready for the initial trial. Technically I was making filetto (due filetti) and not lonza since I’d be using the tenderloin instead of loin. I chose this particular cut for two reasons. One, I felt it would cure quicker than the 2-3 weeks needed for pork loin; and two, I wanted to see if there was a difference curing in the fridge vs my pantry. I knew one would dry out quicker in the pantry but wasn’t too worried since the smaller tenderloin was about the same weight of the duck and pork I have turned into duck prosciutto and mini-guanciale, what I was curious about was the taste. Would slowly curing in my new curing chamber taste better than the pantry curing or would it be negligible? Furthermore, would the chamber actually work?
Answers: negligible and YES! I think at this particular weight there’s very little difference between the two. The fridge cured filetto definitely exhibits more uniform texture as moisture was slowly drawn out, which is the result you want. Taste-wise, pretty much the same, maybe a little more fennel flavor in the fridge cured one. If you don’t have a fridge set-up you can make this as long as you have a cool basement or room, and you have plenty of time to make some for Christmas or New Year’s parties!
Fennel Pollen Lonza/Filetto (cured pork loin/tenderloin) from Salumi by M. Ruhlman & B. Polcyn
- 1 or 2 pork tenderloins (they seem to come in packages of two so why not make both)
- Kosher salt
- 1-2 Tbs cracked black peppercorn
- Fennel Pollen
- Kitchen twine
According to the book most whole muscle curing can use the ‘salt-box’ method. Take a sheet pan or baking dish and pour enough salt in it to be able to roll or dredge the meat in it, covering the entire piece with salt. Add the peppercorns and mix together.
Guess what’s next? Roll or dredge the tenderloin in the salt/pepper combination making sure the ends are covered as well.
Place the tenderloin into a Ziploc bag. Place the bag between two cookie sheets and put 8 lbs on top of the pans to squeeze the tenderloins. Why 8? No idea, I used a heavy braising pot which surprisingly weighed 9 lbs, if you don’t have a pot that heavy a couple 5lb bags of flour will do.
Place in the refrigerator and allow to cure 1 day for every 2 lbs. My tenderloins were about 2 ½ lbs so I let them cure for an extra half day.
Remove tenderloins from bag and rinse off the cure. Coat with fennel pollen (or whatever spice or herb flavor profile you’d like to add).
Tie up the tenderloins like you would a roast (see video here) or poke a hole in the larger end and run a string through it to form a loop to hang it on a hook.
Weigh the tenderloin and write down the weight. Also calculate what 70% of the weight is and write that down. When it reaches the 70% number it’s done and ready to eat.
Notes from my ‘cured in two ways’ experiment: one in the pantry, one in the curing fridge. When air curing meat, the meat needs to lose 30% of its post-cure weight so having a kitchen scale is pretty important. In my experiment the pantry tenderloin took 4 days to achieve this, the curing fridge took 10. Fridge one was larger by almost half a pound, but still I feel it would have taken twice as long if it was the same weight as the pantry one. In retrospect I’ll be a little more liberal with the coating next time and might even add some fennel pollen to the initial cure so the tenderloin can absorb some of the flavor.

Everything about this is right!
Thanks! Recreating the technique with a loin next to see if I can do it again!.
Wow! Bravo!
Thanks! Further down the rabbit hole…
Hi Peter, Just fascinating. Which book would you suggest for a beginner? In particular I am interested in the temps, time and humidity as well as recipes required to make the various meats. Thanks!
For me it all started with Ruhlman and Polcyn’s Charcuterie. I learned a lot about curing, brining, sausage making from it. Salumi, their follow-up to it, delves more into cured meats. Those two combined with Ruhlman’s book Ratio are excellent resources of technique and creativity for the home cook.